There is a ton of software and online tools advertising the ability to turn songs into ringtones for your iPhone. But why mess with those when you can create your own custom ringtones for free with iTunes?
While many iPhone owners choose to stick with Apple’s pre-loaded ringtones or buy official ones from the iTunes Store, there is a huge demand for free, customizable ringtones. I’ve never believed in paying extra for a 30 second clip of a tune I already own just to hear it when my phone rings. I’m sure most people are in the same boat.
If you’ve ever wanted to convert your favorite song into a ringtone for your iPhone, look no further than iTunes. As long as the song is not copy-protected with DRM, your ringtone is just a minute or two away.
- The first step to converting a song into a ringtone is to listen to your chosen song and pick out the 25-40 second snippet you want to use. Note the start and end times.
- Next, right-click on the song in iTunes and choose Get Info from the contextual menu.
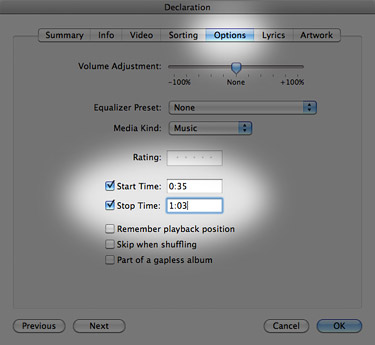
- Go to the Options tab and enter the Start Time and End Time. As you can see in the example below, I entered 0:35 (35 seconds) and 1:03 (1 minute, 3 seconds). Ensure the checkboxes are selected next to both fields. Click OK.

- Right-click on the song again and, this time, choose Create AAC Version. A new file should appear in your iTunes library that is cut to your selection and has the same title. My file has a duration of 0:28, for example.

- Right-click your trimmed song and select Show in Finder. A Finder window will open and the file will be selected.
- For now, go back to iTunes and right-click on the file yet again. Choose Delete from the menu and be sure to Keep File when asked. This removes the file from iTunes, but keeps it on your hard drive.
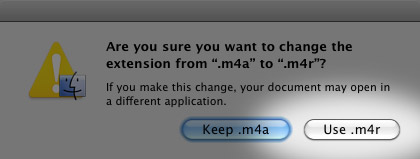
- Return to the Finder window that was opened in step 5 and rename your file with a .m4r extension. My file was named “01 Declaration 1.m4a” and was changed to “01 Declaration 1.m4r”.

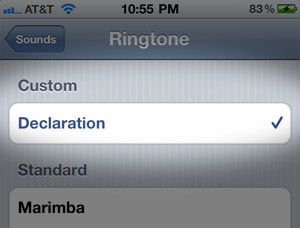
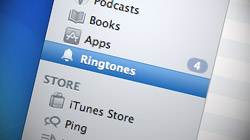
- Double-click the .m4r file and it will be added to the Ringtones section of iTunes. It should be transferred next time your sync your iPhone. You will be able to select the ringtone from Settings > Sound > Ringtone on your iPhone.

- Even though the ringtone is finished, let’s not forget about the original song in your music library. Right-click it, select Get Info, go to the Options tab, and then delete the start and end times you entered in step 3. Click OK.


November 6th, 2010, 7:22 PM
Ben,
iTunes 10 has the “Create AAC Version” option on my MacBook Pro. If for some reason it doesn’t show up when you right-click the file, it is still in the menu bar under Advanced.